服务热线
产品展示
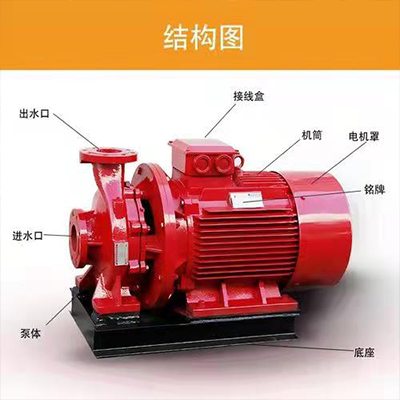
消防泵类设备
消防稳压、恒压设备
生活变频供水设备
消防电控箱
排污泵
离心泵
化工泵
自吸泵
管道泵
深井潜水泵
其他水泵
阀门
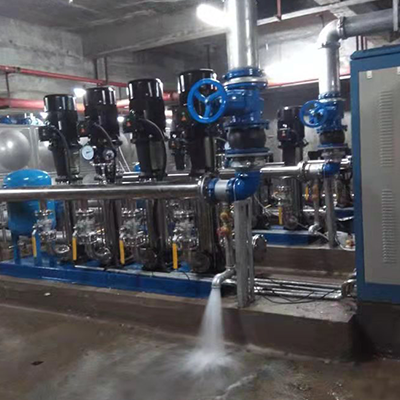
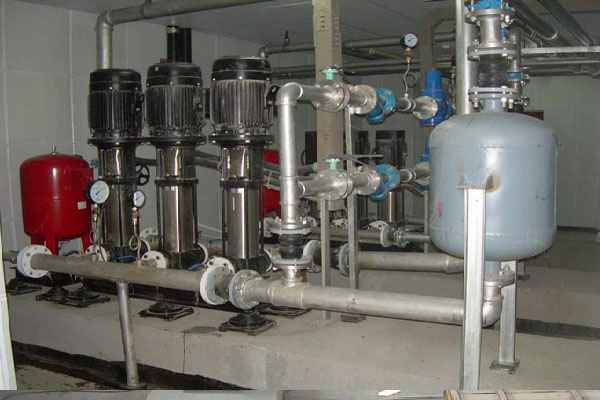
变频供水设备
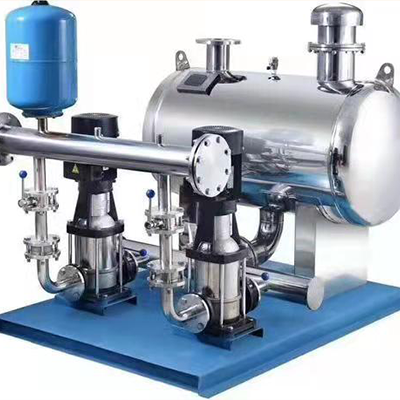
无负压供水设备
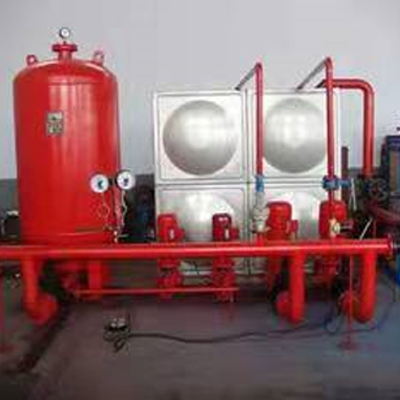
消防水液压设备
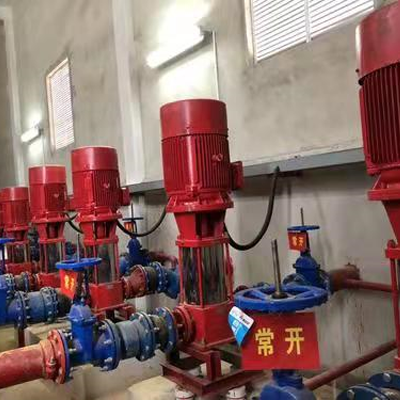
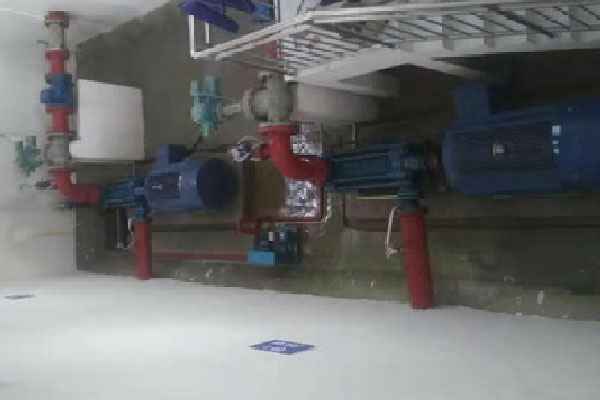
消防水泵现场
卧式消防水泵
新闻动态
500S98型双吸 离心泵 应用广泛,自然出现的故障也就会频繁,拟制故障发生也不是没有办法,在购买适合自己的要求的双吸 离心泵 ,在s型双吸 离心泵 使用过程中正确使用,及时进行维...
一样通常的泵站工程环境,对付泵出口止回阀的选择,应遵照以下原则;对泵出口管路口径较小的管路,即DN50mm时,应选用起落式止回阀。对泵出口管路口径DN≥50mm的管路,应选用旋启...
应用范畴: 系列管道泵重要实用于高层修建,园林喷灌,管道增压,冷热水循环,易然易爆液体与腐化性液体运送及种种汽锅,供水,暖通,化工,煤油管道设置装备部署配套。 1、ISG平凡型实用...
污水泵可以分为:液下污水泵、管道污水泵、潜水污水泵、立式污水泵、耐腐蚀污水泵、耐酸污水泵、自吸污水泵。 污水泵型号有:PW型污水泵和PWL型污水泵。 PW型污水泵采用的压水室...
污水泵和其它泵一样,叶轮、压水室、是污水泵的两大核心部件。其性能的优劣,也就代表泵性能的优劣,污水泵的抗堵塞性能,效率的高低,以及汽蚀性能,抗磨蚀性能主要是由叶泵和...
离心的概念 离心其实是物体惯性的表现.比如雨伞上的水滴,当雨伞缓慢转动时,水滴会跟随雨伞转动,这是因为雨伞与水滴的摩擦力做为给水滴的向心力使然.但是如果雨伞转动加快,这个摩...
我们的 优势
01 专业 技术支持
02 精心 铸造精品
03 使用 寿命高
04 全程务 服务
关于我们
成功案例
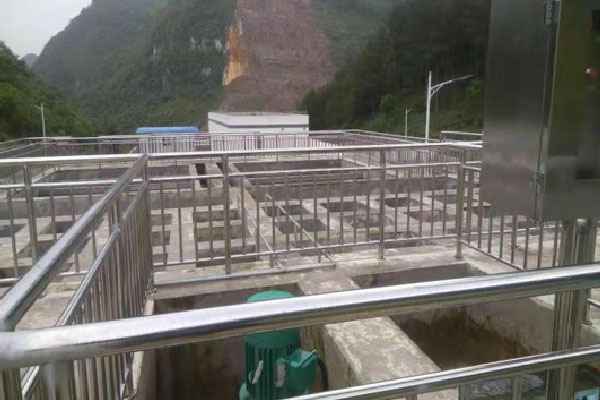
自来水处理
遵义道真玉溪镇水厂
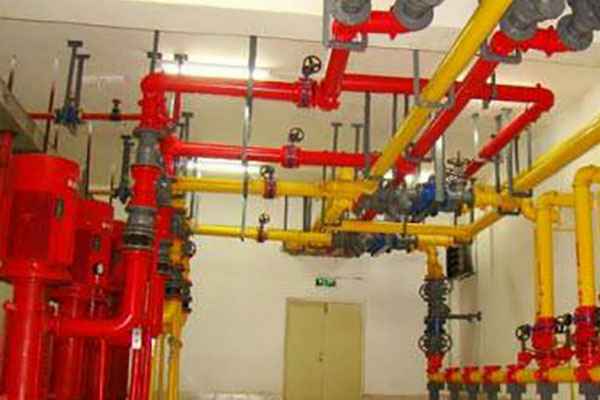
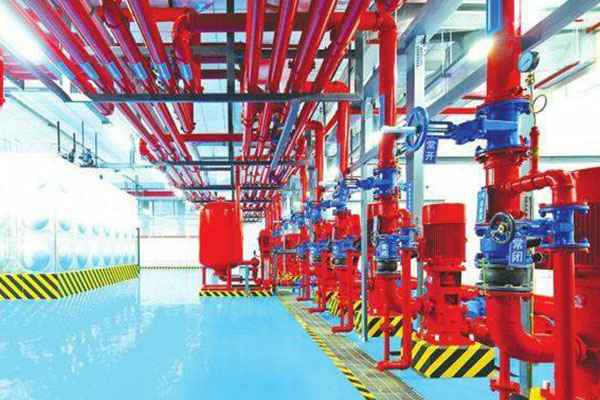
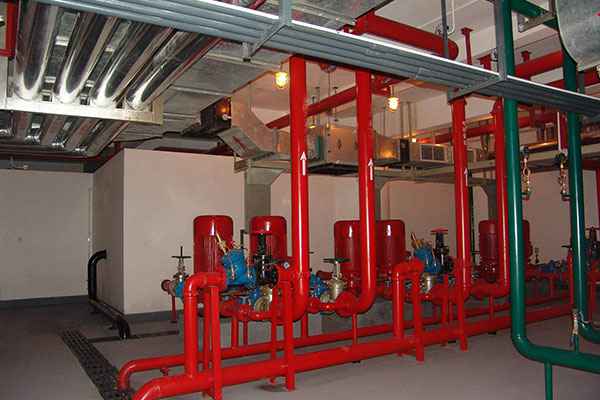
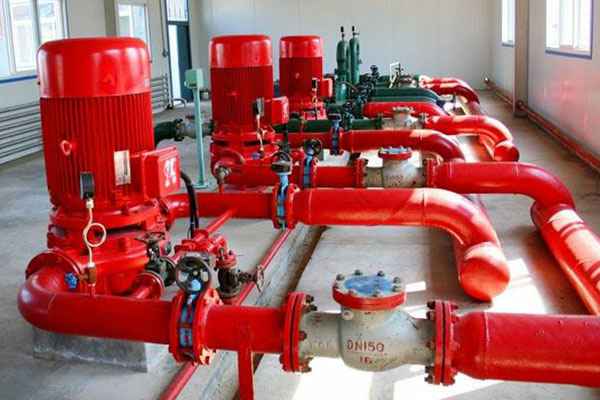
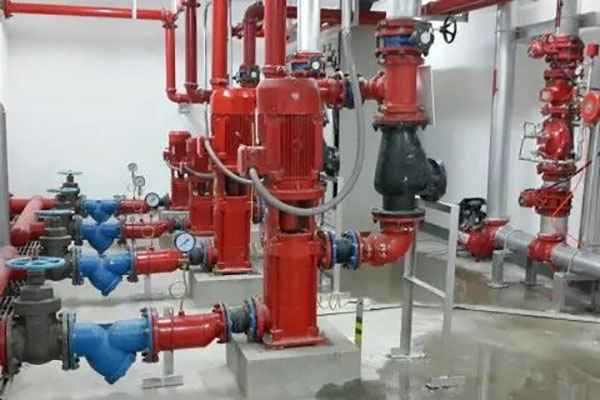
云南消防泵房案例
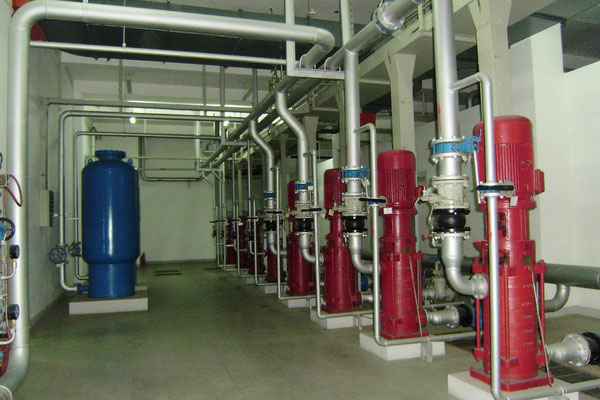
消防泵房案例
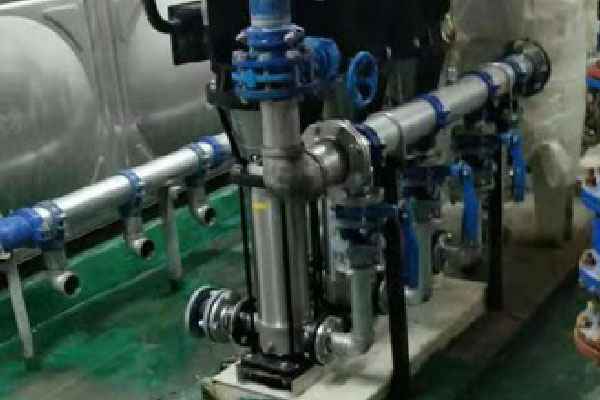
不锈钢生产供水设备
贵州供水设备案例
四川消防泵房案例
重庆消防泵房案例
贵州消防泵房案例
重庆小区无塔供水机验收完毕
贵州能源公司采购一批单级双吸离心泵
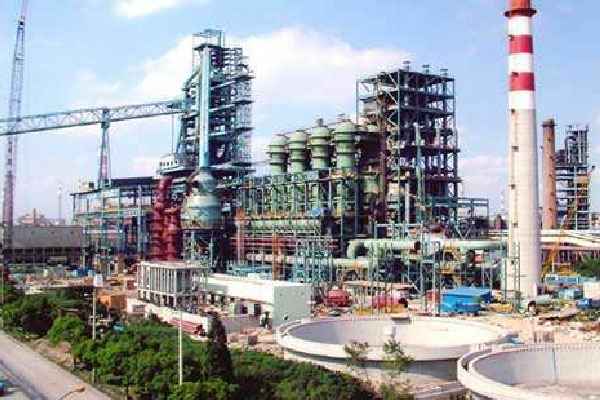
钢铁公司工程案例
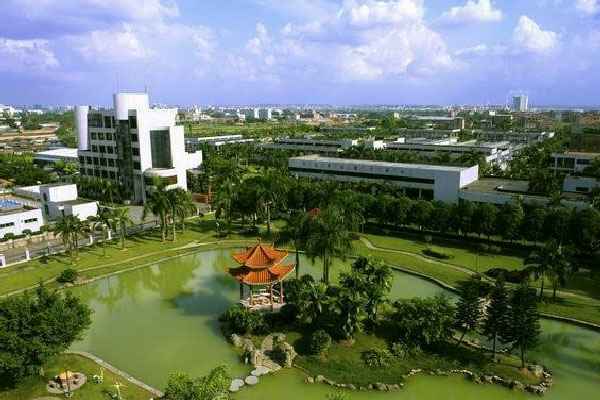
云南水务公司
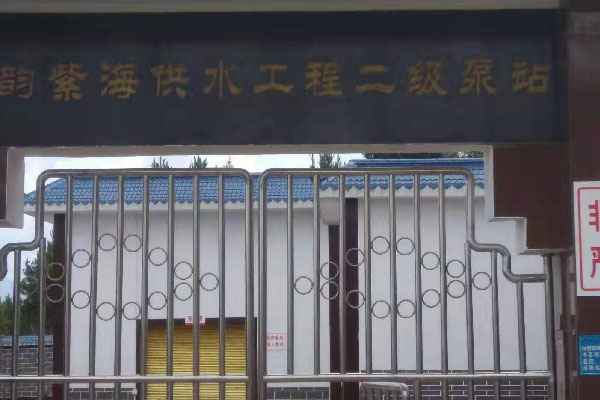
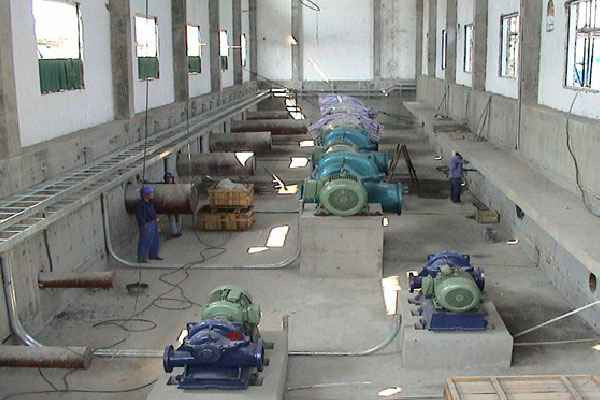
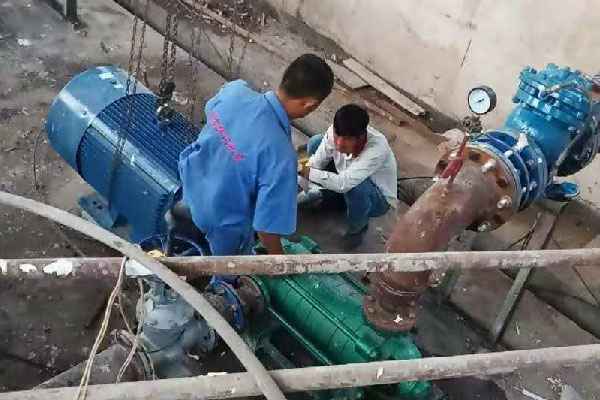
泵站安装现场图
Copyright © 半岛星空体育·(中国)官方网站 版权所有

 消防泵类设备